I spent all day grinding on the frame and now have ¾ of the frame almost complete. Between fans in the garage, a running shop vacuum, three respirator masks, and being covered in rust it was a productive day.
I opted for the cleaning disk instead of the standard wire wheel attachment for the drill. It really made easy work of the rust and old paint. They are a little more expensive, but truly saved a lot of time.
 |
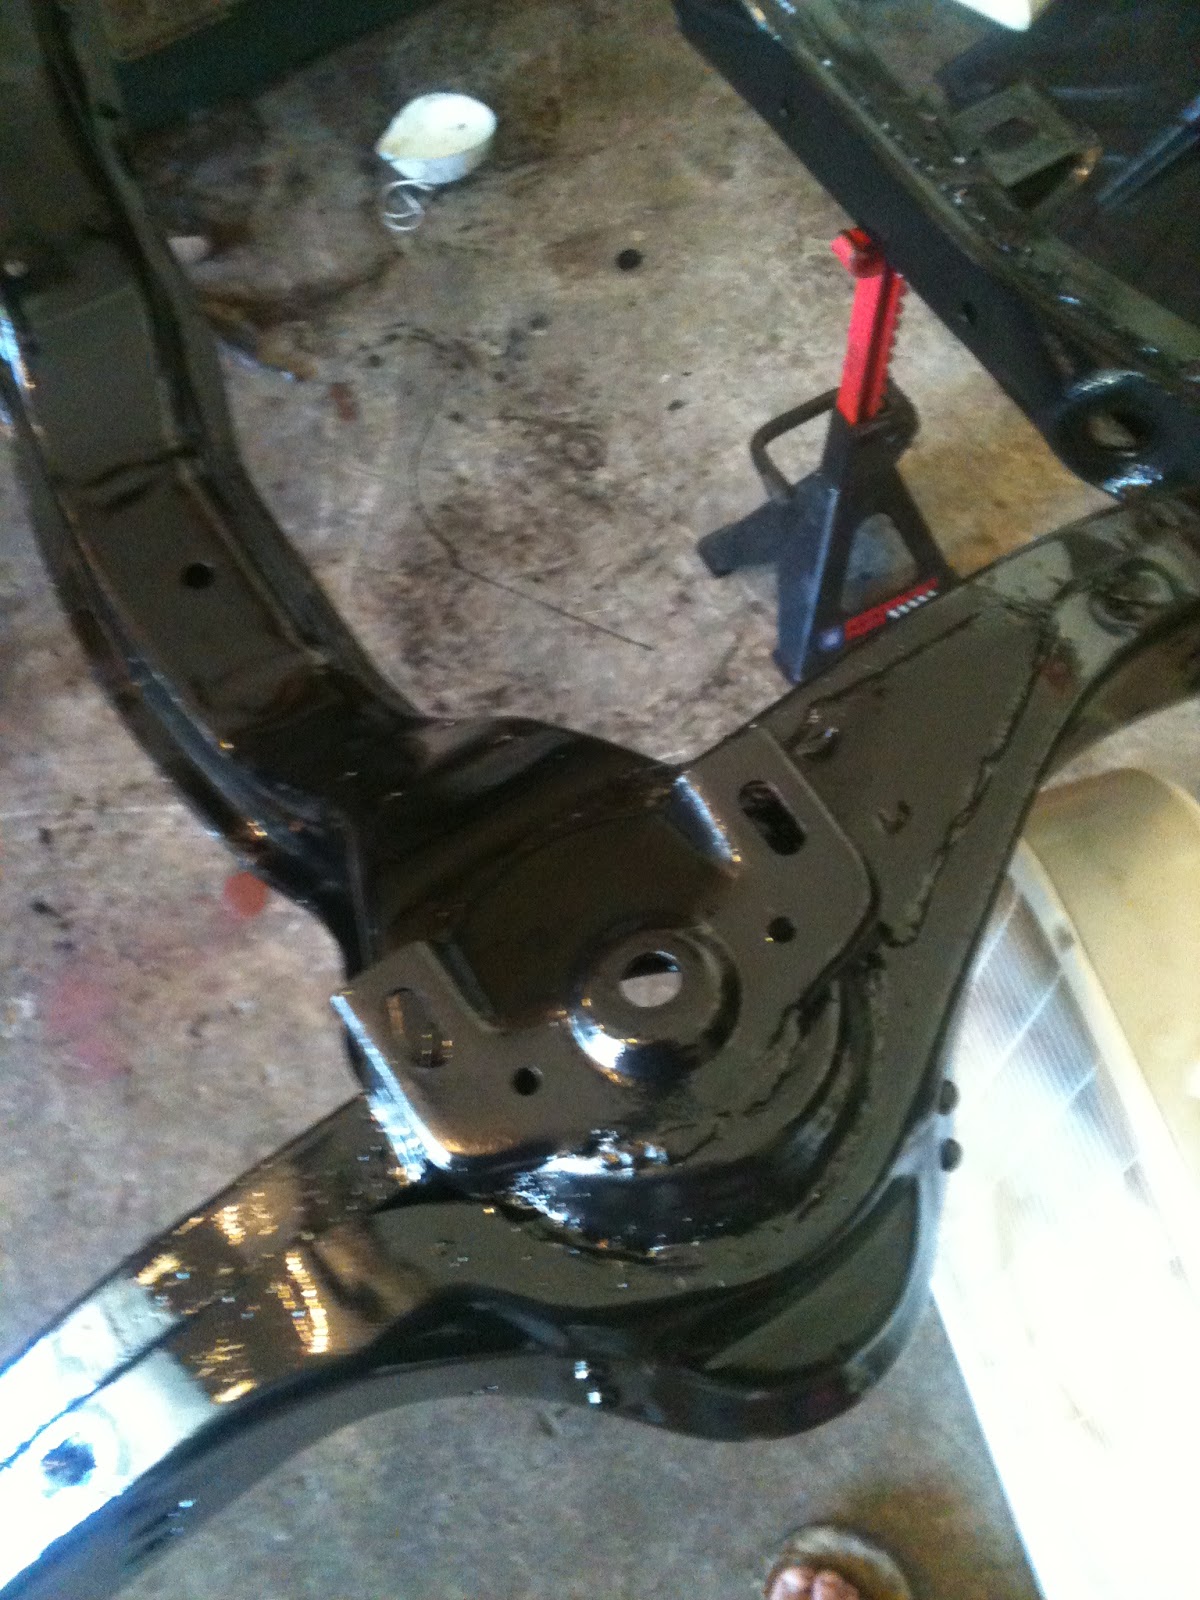
Freshly coated in reformer
|
 |
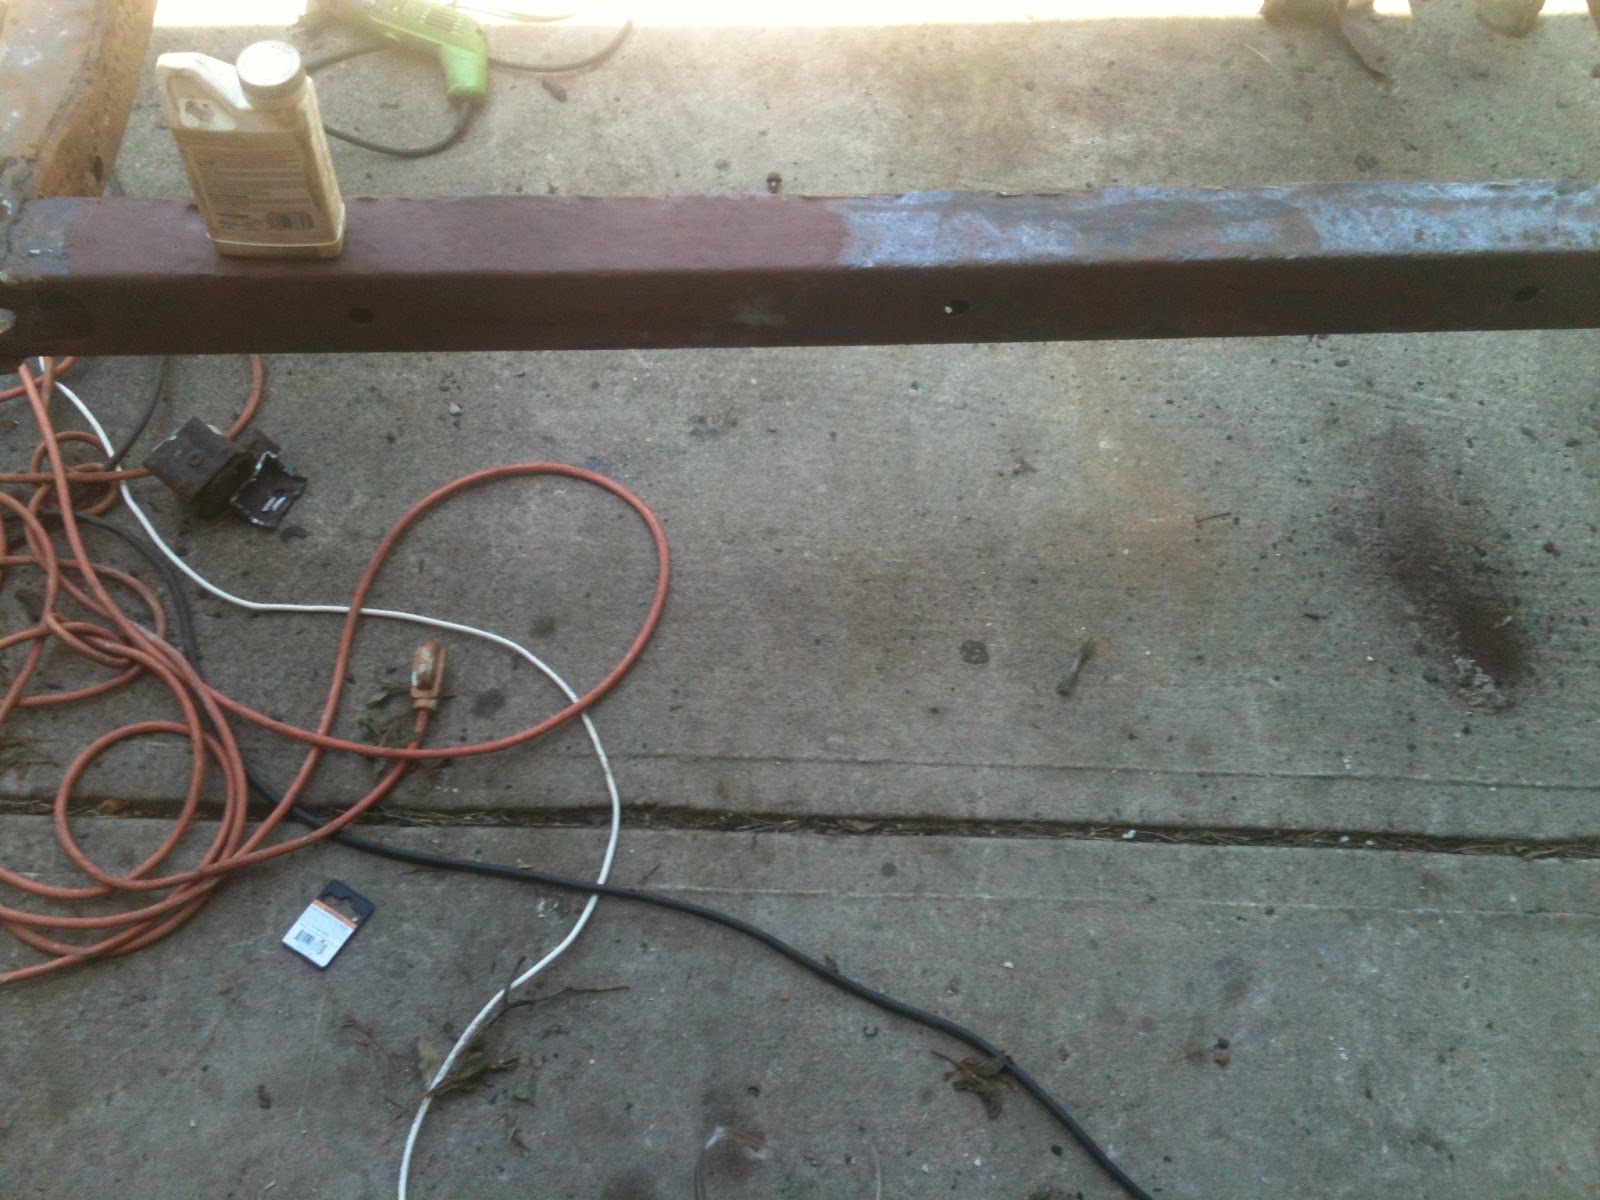
| Coated in reformer |
Once I used the cleaning disk, I used the wire wheel to go back and touch up some of the smaller areas. I am still pleased with the rust reformer. It really seals the metal nicely and is thin enough to get into the small areas. The only problem is the small bottles are all I can find.
I will be spending time tomorrow to finish scraping and grinding on the front 1/3 of the frame. Once this is complete and sealed, I will be pulling the frame out of the garage again to spray reformer into the inside of the tube frame.
 |
| Coated in reformer |
 |
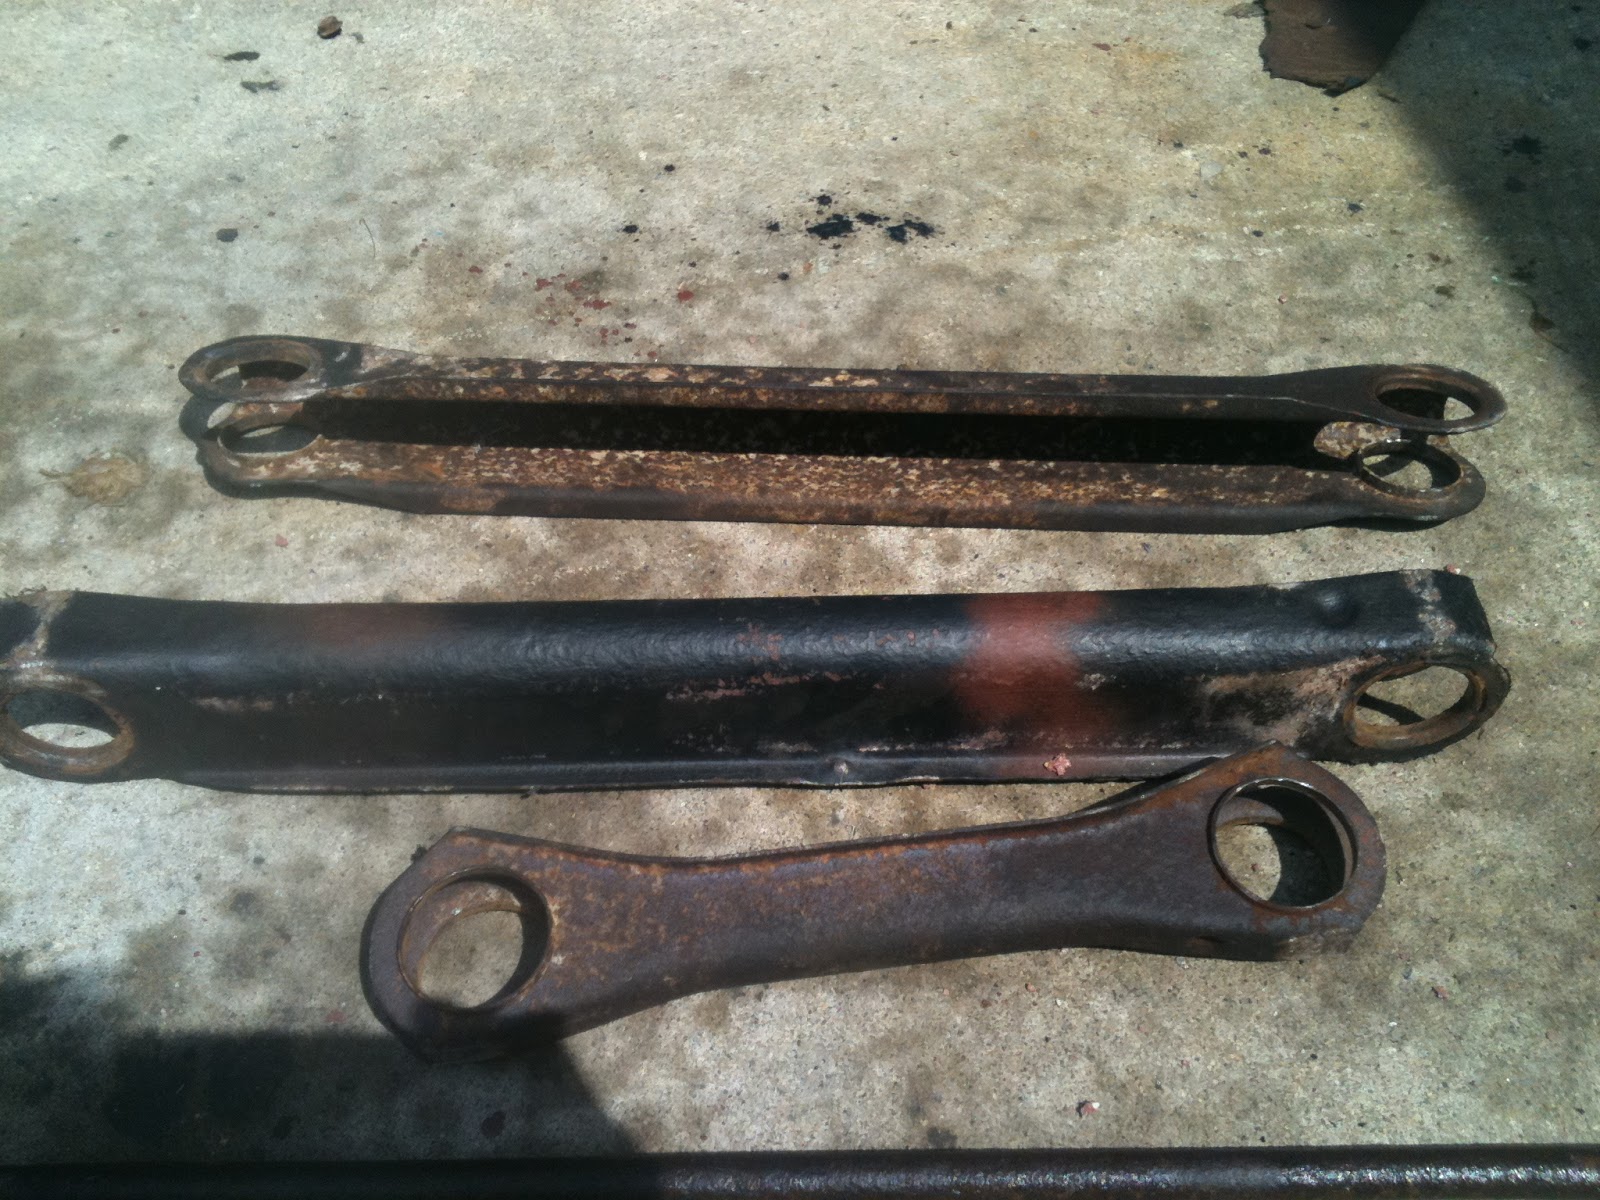
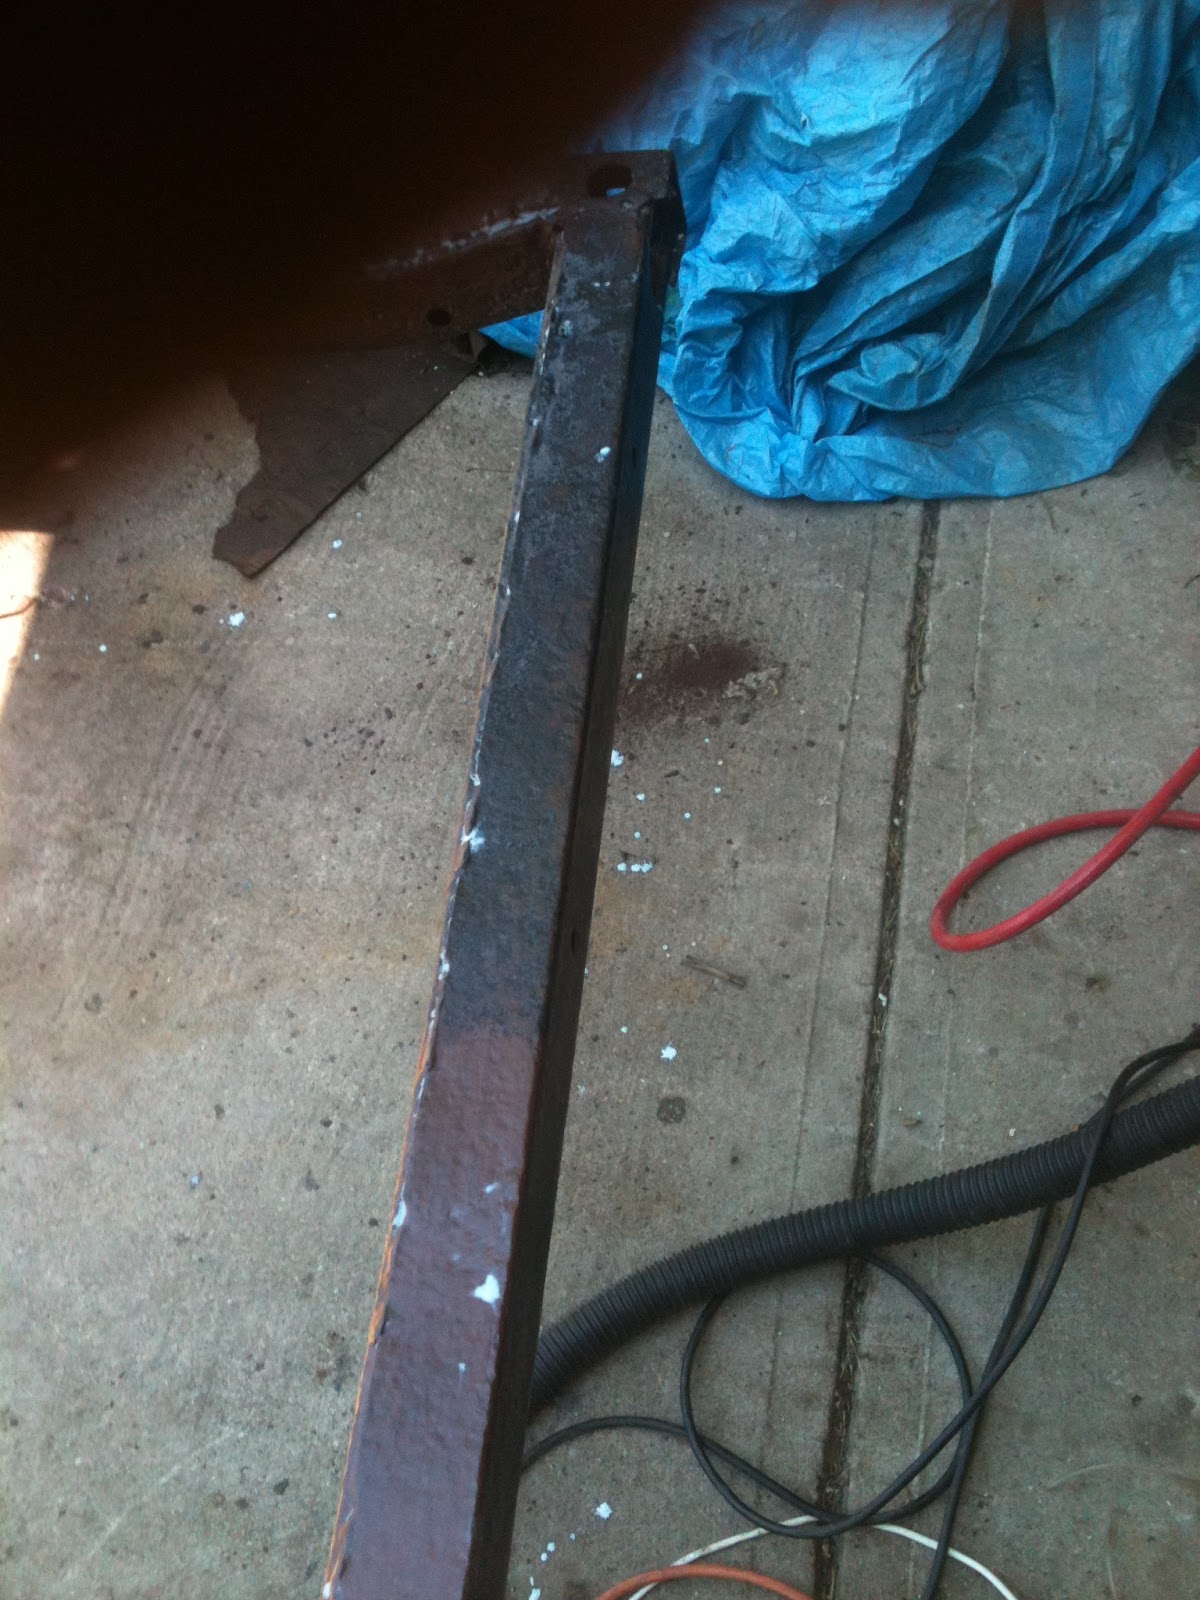
| Before reformer |
I have read several blogs on using a foam sealant inside the frame. Half of the people think it is a good idea and the other half say it is not. I have read all of the benefits and pitfalls and will decide later on what to do. Right now I am leaning towards using the rust reformer heavily inside and then spray coating the inside with a thick rust primer. This should take care of any future problems while allowing the frame to breathe out any moisture.
 |
| Worst part of the frame after topcoat |
 |
| Rust cleaning attachment |
 |
| 1 hour after reformer |
 |
| 1 hour after reformer |
 |
| 1 hour after reformer |
 |
| 1 hour after reformer |
 |
| 2 hours after reformer |